Well flippin 'eck as much it has only taken about two weekends of fiddlin re checking and rechecking wiring and everytime could not find any problems so tonight I thought one more check over with the multi-meter then ka boom blat blat blattery blat tune up time tomorrow then I can charge full ahead with sorting the rear end (somewhere along the line I managed to break off an indicator whilst she was covered up) plus change of paint scheme is required. and need a little more clearance on lower frame leg for the chain.
For the record I am one happy old sod tonight!
Saturday, 5 March 2011

Sunday, 27 February 2011
Bloody wiring!
Well, spent the weekend sorting the ignition system! thought I had it sussed but something wasn't right on investigation and looking at many wiring diagrams none of which had a starter relay, which I had kept and it was this that seemed to be causing the problem. So it went via my foot to the bin!
Checked the timing again, re checked the timing, then it nearly started but the starter seemed to jam, so recharged the battery and watched the rugby for a while!
Final insult, checked it all battery charged, fired her up well almost.............sigh............ then I noticed that my right leg seemed a bit damp, forgot to replace the timing inspection bolt oil was spouting all over me leg! So at that point, tomorrow is another day! Perhaps perhaps perhaps !!!!!!
Sunday, 20 February 2011
Electrics part 2
Well today after a fair bit of head scratching and looking at about 5 different diagrams I got the bike turning over both on the direct start button and the key! It took me about 3 hrs but I needed to be sure having not done this before and didn't want to mess something up that could be costly!.
Lessons learnt, take your time check, double check then make sure you've checked! I had kept the original ignition circuit as it seemed to make sense it was a little complicated because the wiring colours were as per usual not as the OEM diagram! but by keeping the regulator, starter and alternator wiring which was already wrapped with a strong covering complete with plugs etc seemed to make sense. I made two new battery terminal leads as the OEM were both black positive having a bit of red tape to denote positive. So I went for a length of red covered lead for the positive, no mistaking it is live, and used the same red (old black one had had it, having just moaned about OEM!) but I had some black plastic spiral binding cable cover left over from previous "mods" but it definitely is negative with a little red showing through!
Having wired it all into place temporarily with longer wire than needed (in case of cock ups or mods needed) I tried the direct start then the switch all turned over nicely and left it all attached for 30 mins no hot wiring or smoking so I guess all is well.
I will check all is in the right place one more time, as in the charging system all looks right and power is where it is needed. Then shorten wires where needed and fix permanently run a live wire to the fuses for lights, indicators, horn etc. and add the Hi4 ignition to live wire in the VOES and thats the main part finished. Hopefully in the next few days! The Crane Hi4 is a dream for the amateur, plug and play as near as damn it, wire to live, 3 to the coil, VOES and tacho if used done, simplicity to tune the engine as well, with the aid of a small led light.
I have run the bike without the VOES the past year and on "race" setting. There are arguments that go on deep into the night over the VOES and whether its use is relevant or not. The main reason for putting it back in the system is I have not been able to get the tuning quite right with the S&S super E, and much research has been done to get an answer. However, a good few people seem to think that you will get a slightly better fuel consumption and smoother running in the tuning department. So until I can get the bike into a tuning station I have switched the Hi4 to VOES upped the rev limit a little to about 6k and will see what happens! The fuel consumption will be a bonus as my new tank only holds 2 gallon! and with a rigid rear end I don't expect to be riding at a ton that often!
Well after sodding around with the VOES and the thing not starting once it was fitted properly took it off returned to race setting fired up first time!
Lessons learnt, take your time check, double check then make sure you've checked! I had kept the original ignition circuit as it seemed to make sense it was a little complicated because the wiring colours were as per usual not as the OEM diagram! but by keeping the regulator, starter and alternator wiring which was already wrapped with a strong covering complete with plugs etc seemed to make sense. I made two new battery terminal leads as the OEM were both black positive having a bit of red tape to denote positive. So I went for a length of red covered lead for the positive, no mistaking it is live, and used the same red (old black one had had it, having just moaned about OEM!) but I had some black plastic spiral binding cable cover left over from previous "mods" but it definitely is negative with a little red showing through!
Having wired it all into place temporarily with longer wire than needed (in case of cock ups or mods needed) I tried the direct start then the switch all turned over nicely and left it all attached for 30 mins no hot wiring or smoking so I guess all is well.
I will check all is in the right place one more time, as in the charging system all looks right and power is where it is needed. Then shorten wires where needed and fix permanently run a live wire to the fuses for lights, indicators, horn etc. and add the Hi4 ignition to live wire in the VOES and thats the main part finished. Hopefully in the next few days! The Crane Hi4 is a dream for the amateur, plug and play as near as damn it, wire to live, 3 to the coil, VOES and tacho if used done, simplicity to tune the engine as well, with the aid of a small led light.
I have run the bike without the VOES the past year and on "race" setting. There are arguments that go on deep into the night over the VOES and whether its use is relevant or not. The main reason for putting it back in the system is I have not been able to get the tuning quite right with the S&S super E, and much research has been done to get an answer. However, a good few people seem to think that you will get a slightly better fuel consumption and smoother running in the tuning department. So until I can get the bike into a tuning station I have switched the Hi4 to VOES upped the rev limit a little to about 6k and will see what happens! The fuel consumption will be a bonus as my new tank only holds 2 gallon! and with a rigid rear end I don't expect to be riding at a ton that often!
Well after sodding around with the VOES and the thing not starting once it was fitted properly took it off returned to race setting fired up first time!
Saturday, 19 February 2011
Got started on the electrics today, I have about 4 different wiring diagrams that each show different ways of doing the job, little consolation!
I have to get this bit right and it worries me that I might knacker something so treading very carefully! All wiring is temporary and on the long side so it looks a mess, I have kept all the old wiring which I have found helps as well. First problem was there is three terminals on the starter but could I find the third after much hunting and looking through the manual I finally found it, a spade terminal UNDER the starter solenoid! which attaching was fun consisting of a torch, long nose pliers and patience! why would you put a terminal under something that has about 1" between it and the engine and in complete darkness? Anyway that sorted I found the starter relay and the 30amp circuit breaker and wired them in. So far so good I now just have to run the live feed from the battery but in the right place. I have sorted the VOES and where to mount it just need to run the Hi4 ignition wire to it and ground it.

Next job is run the live feed from battery hook up the Hi4 and VOES and see if the old gal will run. This is major hurdle for me as wiring lights,horn and indicators are simple and the worst that can happen is a blown fuse. Oh yes and sort a multi point earth or fuses will blow!
Thursday, 3 February 2011
Getting back to it
Well, it's been a few weeks (OK probably months!) what with freezin weather and household DIY having to take precedence, but I will get back to the business in the garage on poor old syd (17yrs old this March!) who has lain languishing under a mound of old sheets, T shirts, and rags for a while.
But it was a good thing as not being able to work on the old gal gave me time to rethink a few parts and slowed me down (to eager to get it finished means shortcuts or bodges!) So hopefully this weekend I can get to grips with a few of them and tidy up, first will be the rear brake calliper it fits and does the job but could look a whole lot better, the seat needs to be made smaller far to wide for the overall skinny look I am trying to achieve, get the ignition live, start up then fit copper oil lines along with some decent oil, and make a new speedo bracket will do for a start.
Before and after pics will show what I mean hopefully!
But it was a good thing as not being able to work on the old gal gave me time to rethink a few parts and slowed me down (to eager to get it finished means shortcuts or bodges!) So hopefully this weekend I can get to grips with a few of them and tidy up, first will be the rear brake calliper it fits and does the job but could look a whole lot better, the seat needs to be made smaller far to wide for the overall skinny look I am trying to achieve, get the ignition live, start up then fit copper oil lines along with some decent oil, and make a new speedo bracket will do for a start.
Before and after pics will show what I mean hopefully!
Sunday, 28 November 2010
electrics
First off, it's flippin cold! so it's one stage at a time then thaw out!
Used the old loom from the voltage regulator along underneath the frame incorporating neutral light wire, oil light wire, starter lead with OEM circuit breaker, once in place the circuit breaker wires will need to be shortened as the routing is shorter than OEM I ran the wires already with heavy duty cover under the starter then up to the electric box. Would be nice to hide the lot but I'm not putting new wiring throughout as this is my first attempt and haven't foggiest as to where to drill holes in the frame for said wiring! so I have just run the Hi4 wiring through the frame as at least that is one less set of wires on view at least, and in some respect leaving the wiring easily accessible isn't such a bad idea for the newbie!
I've also come across some wiring loom covers that are all shades of colours so might just make a feature of them!
Lessons learnt:
I had to remove the front sprocket cover, front exhaust and pegs just to fit one wire connector (neutral light) half hours extra in the cold. Main reason was to eager to get her put together so I could sit and play and admire my work so far.... vanity pure vanity!!
I have also kept some of the main wires to and from the old fuse box and starter relay mainly so I have some idea of what goes where, to date I have about 12 different wiring diagrams plus a couple of online links. By switching between them and getting to understand how the setup works it is slowly making sense.
A couple of pictures for what it's worth


Used the old loom from the voltage regulator along underneath the frame incorporating neutral light wire, oil light wire, starter lead with OEM circuit breaker, once in place the circuit breaker wires will need to be shortened as the routing is shorter than OEM I ran the wires already with heavy duty cover under the starter then up to the electric box. Would be nice to hide the lot but I'm not putting new wiring throughout as this is my first attempt and haven't foggiest as to where to drill holes in the frame for said wiring! so I have just run the Hi4 wiring through the frame as at least that is one less set of wires on view at least, and in some respect leaving the wiring easily accessible isn't such a bad idea for the newbie!
I've also come across some wiring loom covers that are all shades of colours so might just make a feature of them!
Lessons learnt:
I had to remove the front sprocket cover, front exhaust and pegs just to fit one wire connector (neutral light) half hours extra in the cold. Main reason was to eager to get her put together so I could sit and play and admire my work so far.... vanity pure vanity!!
I have also kept some of the main wires to and from the old fuse box and starter relay mainly so I have some idea of what goes where, to date I have about 12 different wiring diagrams plus a couple of online links. By switching between them and getting to understand how the setup works it is slowly making sense.
A couple of pictures for what it's worth

Hi 4 in place

Ignition wire for Hi4
Other wires are from rear light

OEM wires from regulator not yet fed under the starter, ignition and fuse box already in place
Sunday, 14 November 2010
Wiring
Well, spent a couple of hours sodding about with the wires, I have pulled more wires off the OEM loom, leaving just the relays, starter, ignition and fusebox, that way life will be easier, I have ordered a new fusebox (cant re use the OEM space wise) and a few dozen miles of wires as I think it will be easier for the novice at large! :O). The box is in place and I am fairly pleased with it not perfect ( i try honestly) but if it was perfect it would be a mass produced OEM one ha!
couple of pics below


couple of pics below

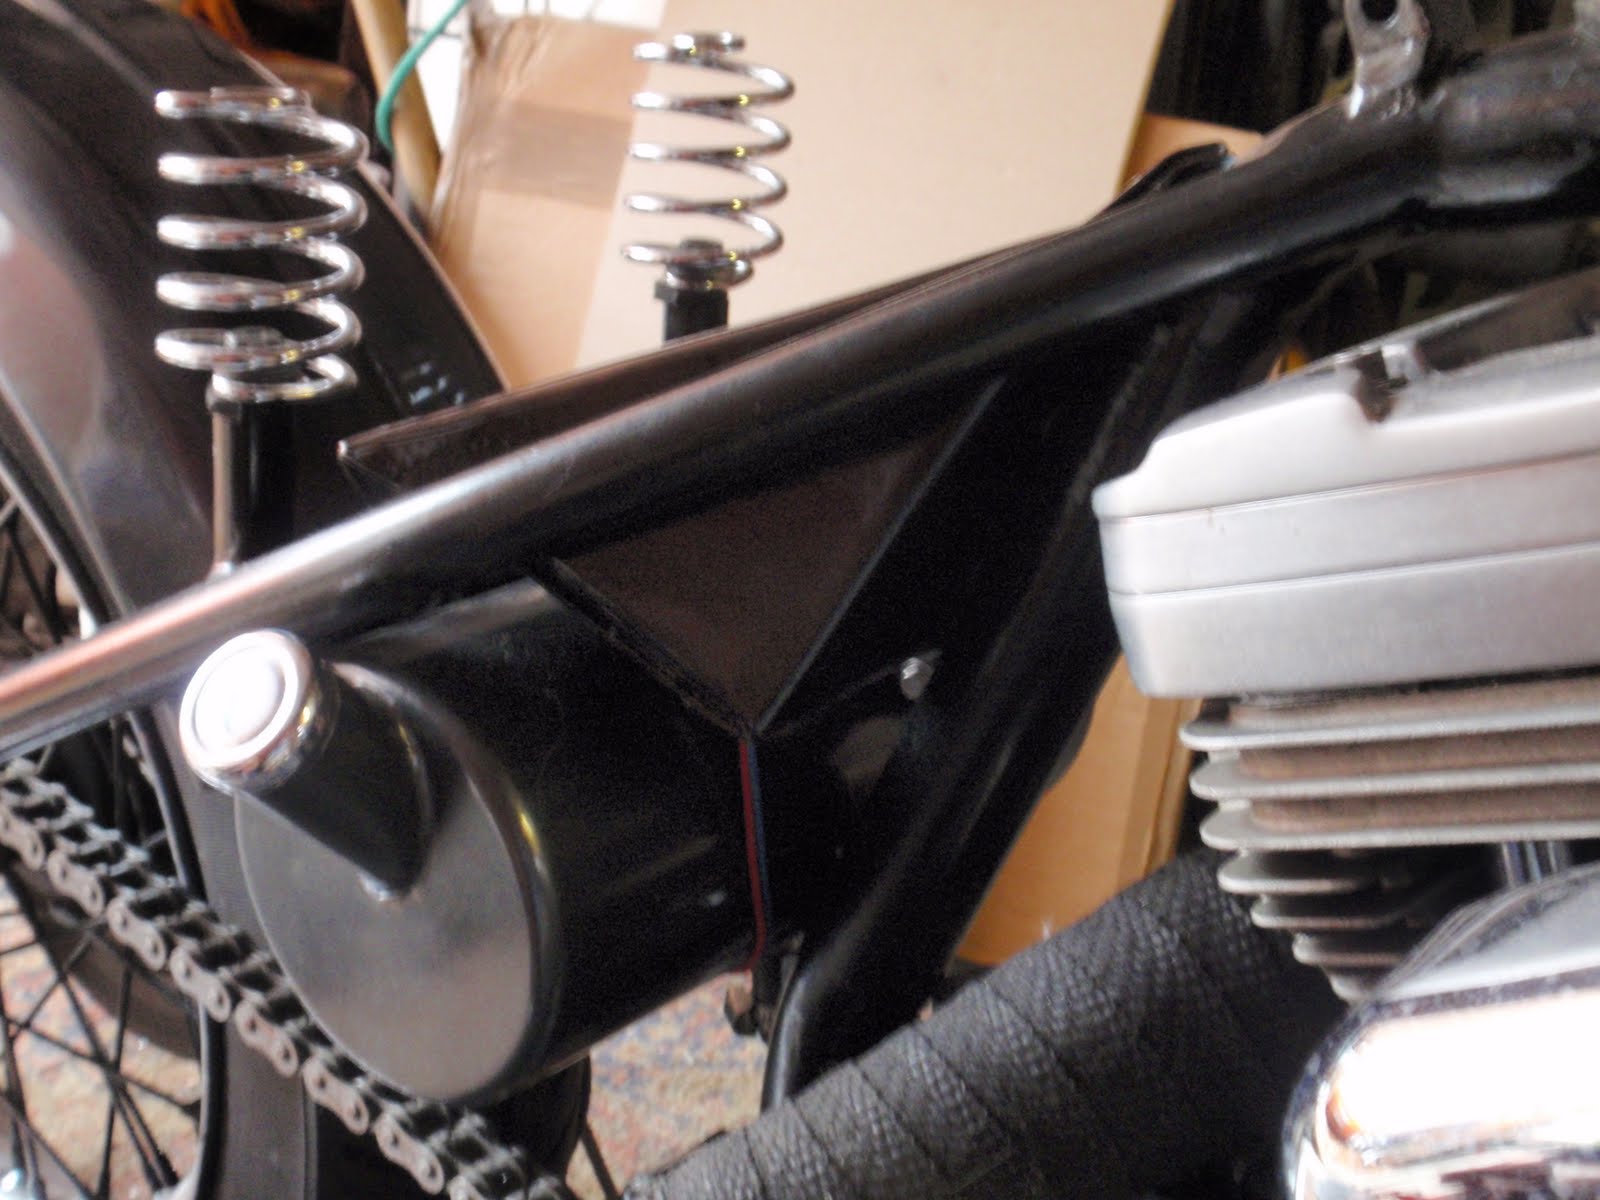

Wires will enter underneath and lid has a gap at it's widest point for a air flow.
Also one of new risers

Subscribe to:
Posts (Atom)