Sunday, 28 November 2010

electrics

First off, it's flippin cold! so it's one stage at a time then thaw out!
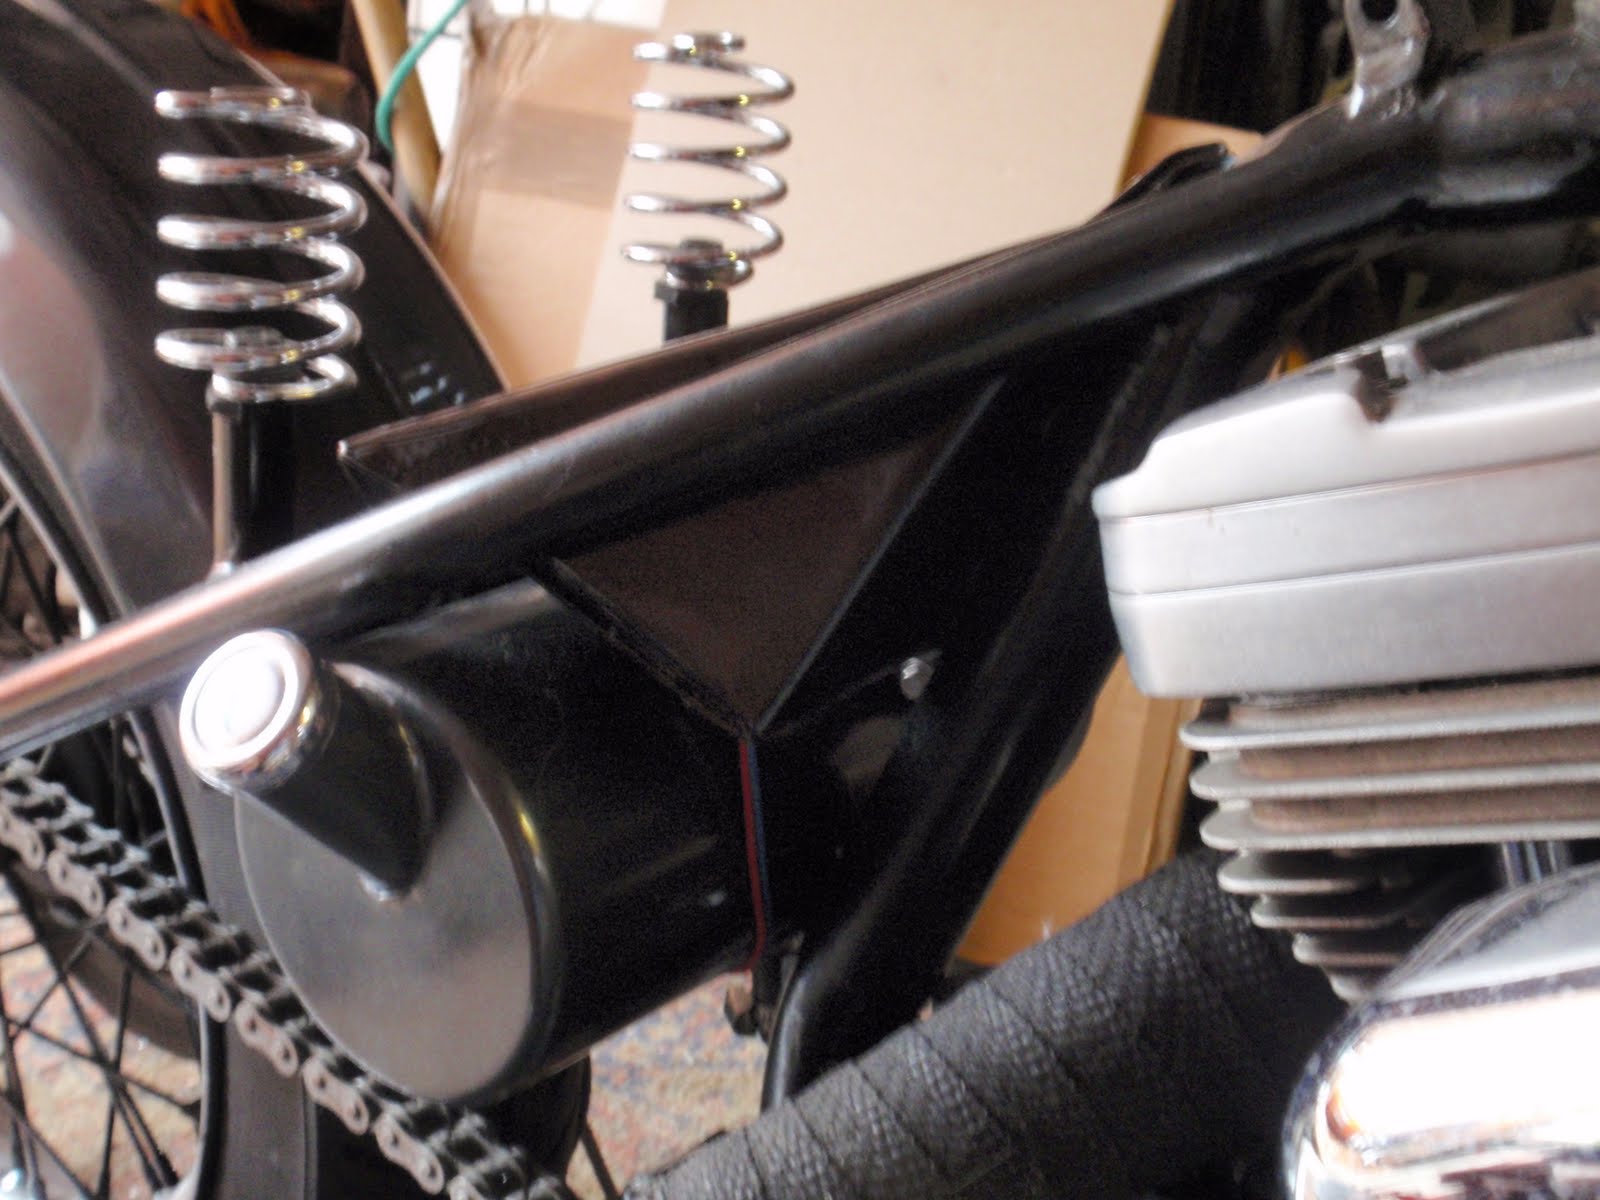
Used the old loom from the voltage regulator along underneath the frame incorporating neutral light wire, oil light wire, starter lead with OEM circuit breaker, once in place the circuit breaker wires will need to be shortened as the routing is shorter than OEM I ran the wires already with heavy duty cover under the starter then up to the electric box. Would be nice to hide the lot but I'm not putting new wiring throughout as this is my first attempt and haven't foggiest as to where to drill holes in the frame for said wiring! so I have just run the Hi4 wiring through the frame as at least that is one less set of wires on view at least, and in some respect leaving the wiring easily accessible isn't such a bad idea for the newbie!
I've also come across some wiring loom covers that are all shades of colours so might just make a feature of them!
Lessons learnt:
I had to remove the front sprocket cover, front exhaust and pegs just to fit one wire connector (neutral light) half hours extra in the cold. Main reason was to eager to get her put together so I could sit and play and admire my work so far.... vanity pure vanity!!

I have also kept some of the main wires to and from the old fuse box and starter relay mainly so I have some idea of what goes where, to date I have about 12 different wiring diagrams plus a couple of online links. By switching between them and getting to understand how the setup works it is slowly making sense.
A couple of pictures for what it's worth
 Hi 4 in place
 Ignition wire for Hi4 
Other wires are from rear light
OEM wires from regulator not yet fed under the starter, ignition and fuse box already in place

Sunday, 14 November 2010

Wiring

Well, spent a couple of hours sodding about with the wires, I have pulled more wires off the OEM loom, leaving just the relays, starter, ignition and fusebox, that way life will be easier, I have ordered a new fusebox (cant re use the OEM space wise) and a few dozen miles of wires as I think it will be easier for the novice at large! :O). The box is in place and I am fairly pleased with it not perfect ( i try honestly) but if it was perfect it would be a mass produced OEM one ha!
couple of pics below


Wires will enter underneath and lid has a gap at it's widest point for a air flow. 
Also one of new risers 


Saturday, 6 November 2010

Bits on Bobs

Got 50" of belt blank, brass buckles & rivets from fleabay for a tenner, so that's the Battery sorted! Electric box painted, gone with black, holes drilled for wiring just need to  make the lid and mount might even be this weekend!

Wednesday, 27 October 2010

The Electrics

Spent a few hours messing about with the OEM wiring loom! and trying to figure what to keep and what to throw. It would have helped if the OEM wiring diagram in the Clymer Manual had the right colours listed! nothing like what I have at all!
I will be making a new indicator loom from scratch as I will be using LED's and the new ignition switch will be fun as the OEM has all red wires where the instructions show black, red and white !  Below is what's left and will it all fit in the box !


Friday, 15 October 2010

Cos i can

To the world


kiss my fucking ARRGGHHHarse


there that's better!

Tuesday, 28 September 2010

New battery


New battery tiny compared to original! Gel type can position it any old way which opens up some new ideas 
size: 
Length 150mm, Height 110mm, Width 87mm in old money about 6 x 5 
according to quadcam guys this is good enough to fire up a '94 sporty backed up by quiet a few using it was surprised to find it over here cost was £42 delivered, ebay were asking £60 odd plus postage so a bargain 
These batteries were not listed when I started my research for a smaller battery turns out it is standard for the Honda ST1300! 


Saturday, 25 September 2010

Frank flut for that clutch sorted and adjusted I have gears!